photographs
preparing to print
1.
Pull out the In tray.
2.
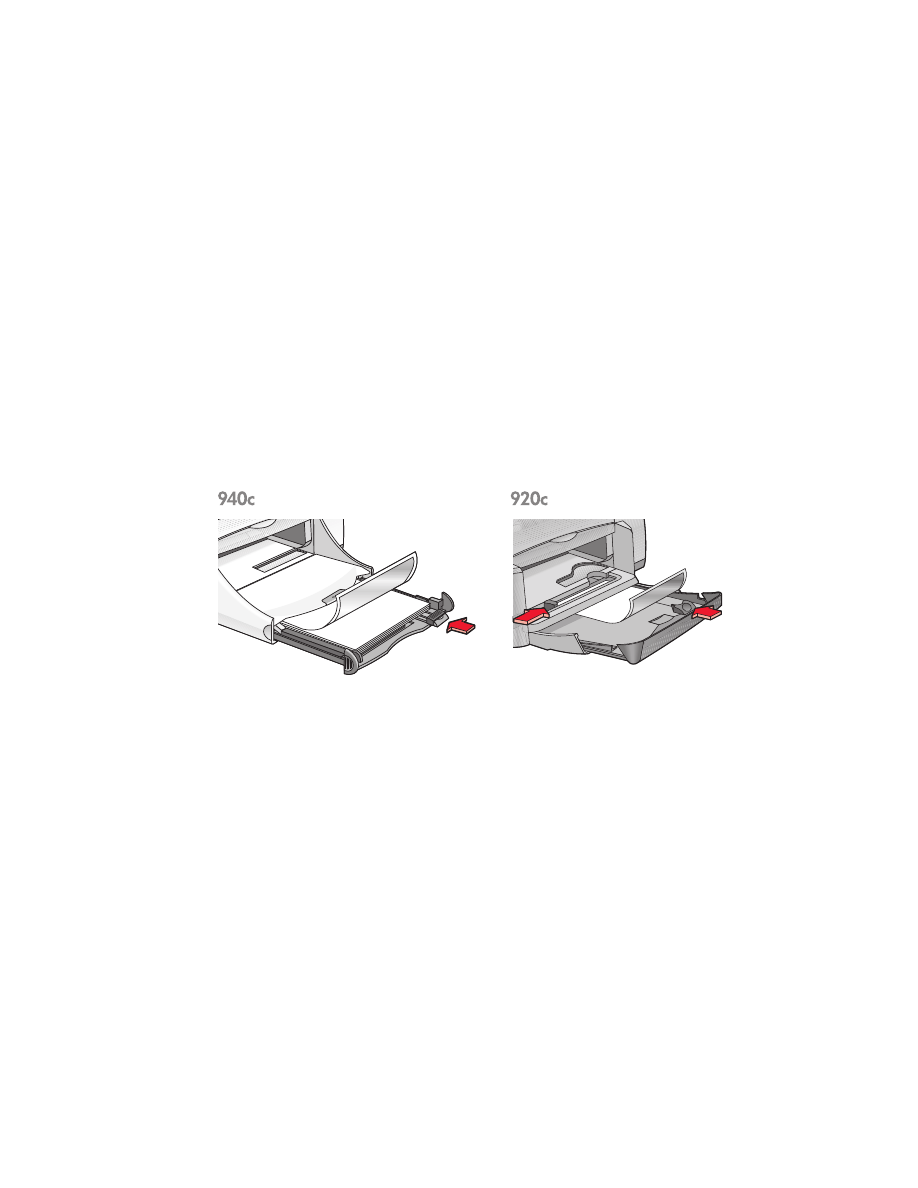
Slide out both paper guides and remove all paper from the tray.
3.
Fan the edges of the photo paper to separate them, then align the photo
paper edges.
4.
Place up to 20 sheets of photo paper—printable side down—in the tray.
5.
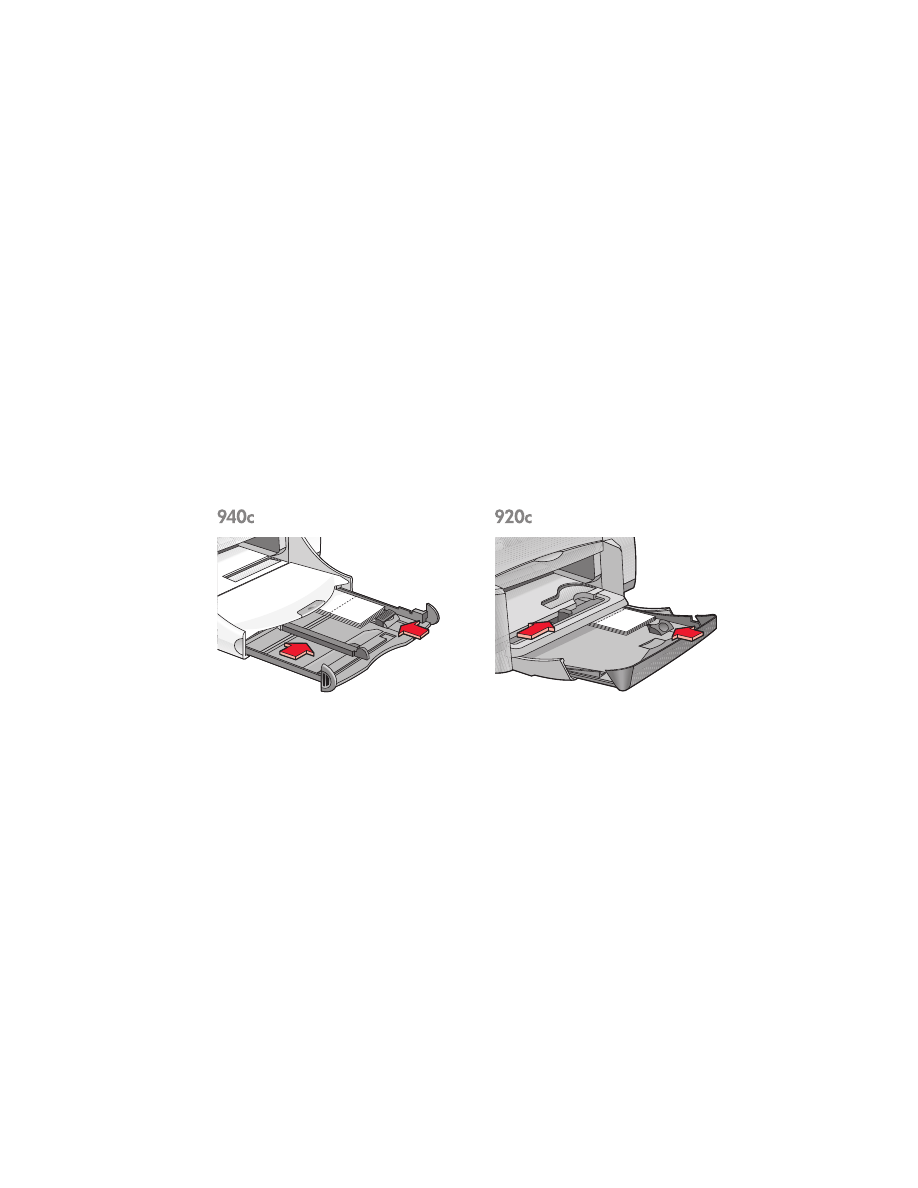
Slide the paper guides snugly against the edges of the photo paper and
push in the tray.
printing photographs
1.
Open the file you want to print.

37
2.
Follow one of these paths to select your print options, depending on the
software program you are using:
• Click
File
>
, then select
Properties
–or–
• Click
File
>
Print Setup
, then select
Properties
–or–
• Click
File
>
>
Setup
, then select
Properties
.
The printer properties box appears with Setup, Features, and Advanced
tab options.
3.
Select the
Setup
tab, then choose the following:
•
Print Quality
:
Best
•
Paper Type
: The appropriate photo paper type
•
Photo Paper Printing
:
-
PhotoREt
for best print speed and quality
–or–
-
2400 x 1200 dpi
for source images greater than 600 dpi (requires
400 MB or more hard disk space and takes longer to print)
•
Paper Size
: Appropriate paper size
4.
Select the
Features
tab, then choose the following:
•
Orientation
: Appropriate orientation
•
Two-Sided Printing
: Unchecked
•
Copies
: Up to 20
5.
Select the
Advanced
tab if you wish to make optional adjustments to
color, ink volume, or ink drying time.
6.
Click
OK
to return to the Print or Print Setup screen.
7.
Click
OK
to print.

38
printing guidelines
• Photos must be in an electronic format before they can be printed. You
can use digital or scanned photos, or have your local camera shop
provide electronic files of the photos you want to print.
• Use the
PhotoREt
setting for most photo paper printing.
• If you have a parallel cable connection, you may be able to increase
photo printing speed by enabling
Hardware ECP
(Extended
Capabilities Port).
For best results use hp photo papers.

39