labels
preparing to print
1.
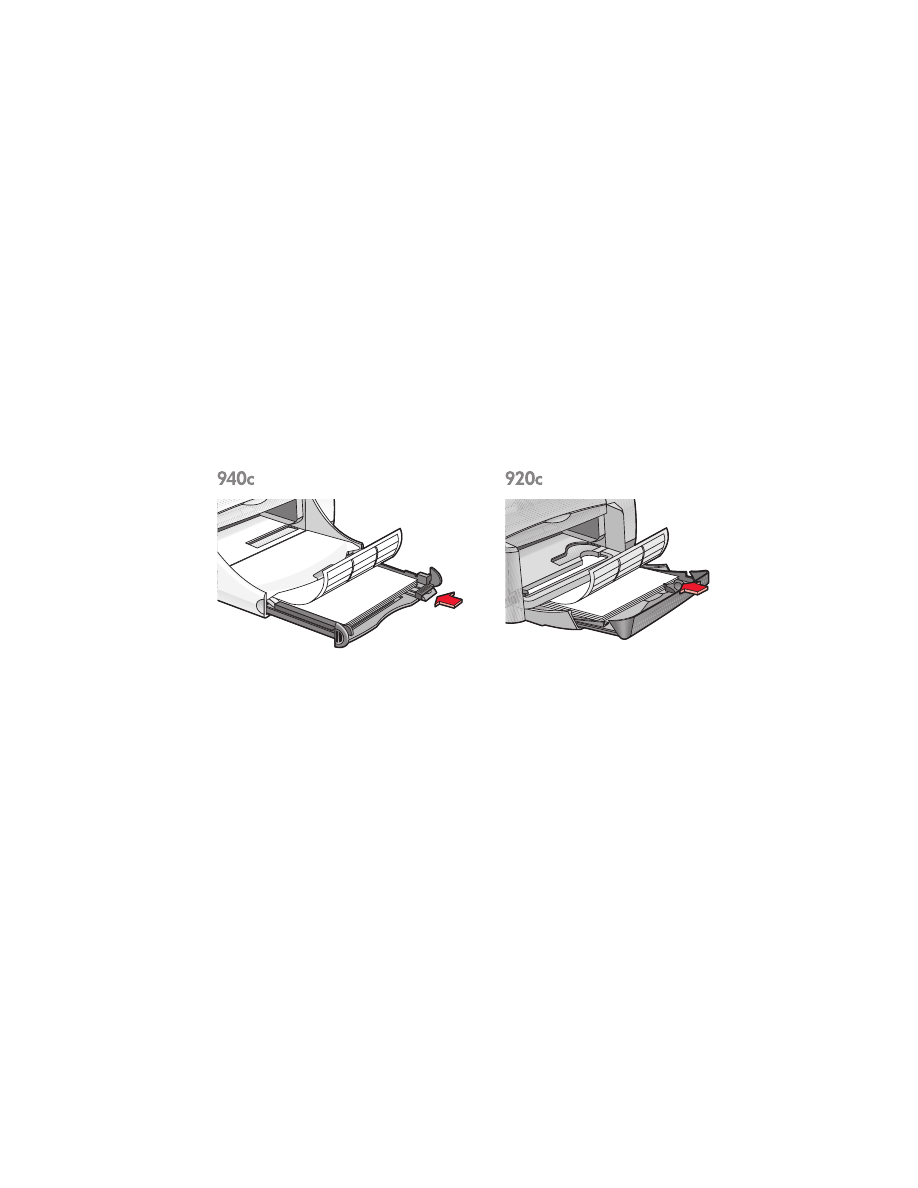
Pull out the In tray.
2.
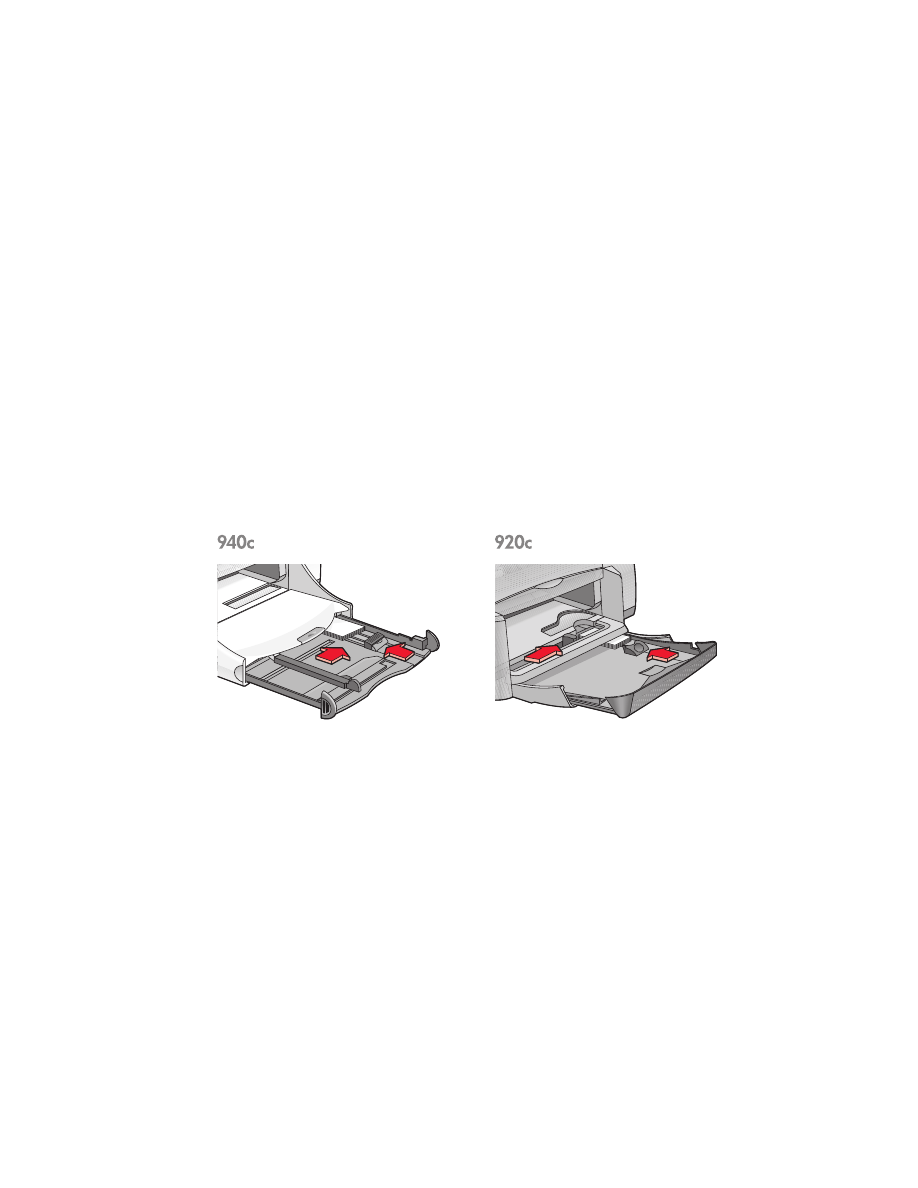
Slide out both paper guides and remove all paper from the tray.
3.
Fan the edges of the label sheets to separate them, then align the label
edges.
4.
Load up to 20 label sheets—label side down—in the tray.
5.
Slide the paper guides snugly against the sheets and push in the tray.
printing labels
1.
Open the file you want to print.
2.
Follow one of these paths to select your print options, depending on the
software program you are using:
• Click
File
>
, then select
Properties
–or–
• Click
File
>
Print Setup
, then select
Properties
–or–
• Click
File
>
>
Setup
, then select
Properties
.
The printer properties box appears with Setup, Features, and Advanced
tab options.

32
3.
Select the Setup tab, then choose the following:
•
Print Quality
:
Normal
•
Paper Type
:
Plain Paper
•
Paper Size
:
Letter
or
A4
4.
Select the
Features
tab, then choose the following:
•
Orientation
: Appropriate orientation
•
Two-Sided Printing
: Unchecked
•
Copies
: Up to 20
5.
Select the
Advanced
tab if you wish to print in grayscale or make optional
adjustments to ink volume, color, or print speed (Low Memory Mode).
6.
Click
OK
to return to the Print or Print Setup screen.
7.
Click
OK
to print.
printing guidelines
• Use only paper labels that are designed specifically for inkjet printers.
• Never place more than 20 sheets of labels in the In tray at one time.
• Use only full sheets of labels.
• Make sure the sheets are not sticky, wrinkled, or pulling away from the
protective backing.
• Do not use plastic or clear labels. The ink will not dry when used with
these labels.
For best results use hp products.

33